Getting Started with Your SiteCritter Website
Ready to start your website with SiteCritter? Follow these simple steps to get up and running:
Step 1: Purchase a Service
Go to the "packages" Dropdown:
- At the top menu, click on the "Order a New Service"
- Select "Website hosting & builder"
- Choose one of the services that suits your needs.
Go to the "packages" Dropdown:
- At the top menu, click on the "Order a New Service"
- Select "Website hosting & builder"
- Choose one of the services that suits your needs.
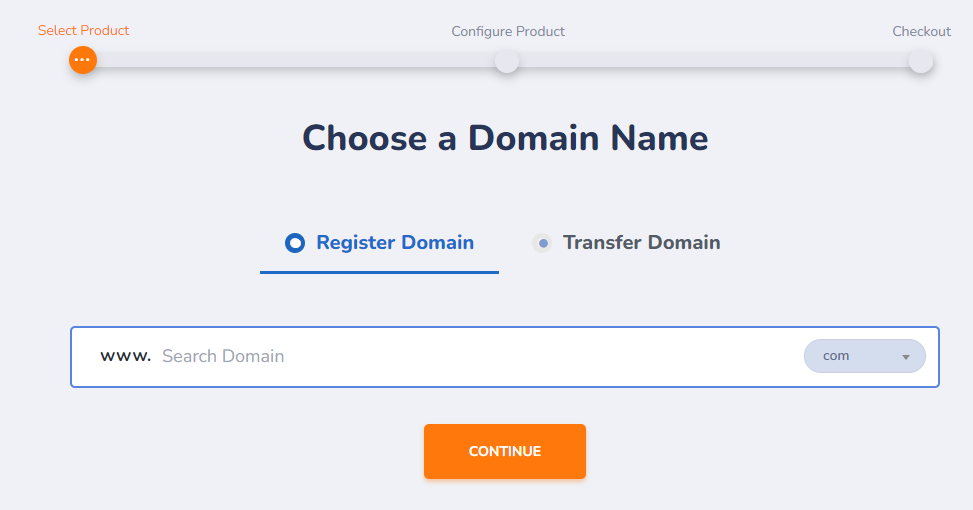
Step 2: Register Your Domain
Register or Transfer a Domain:
- You can either register a new domain or transfer an existing one.
- Complete the checkout process.
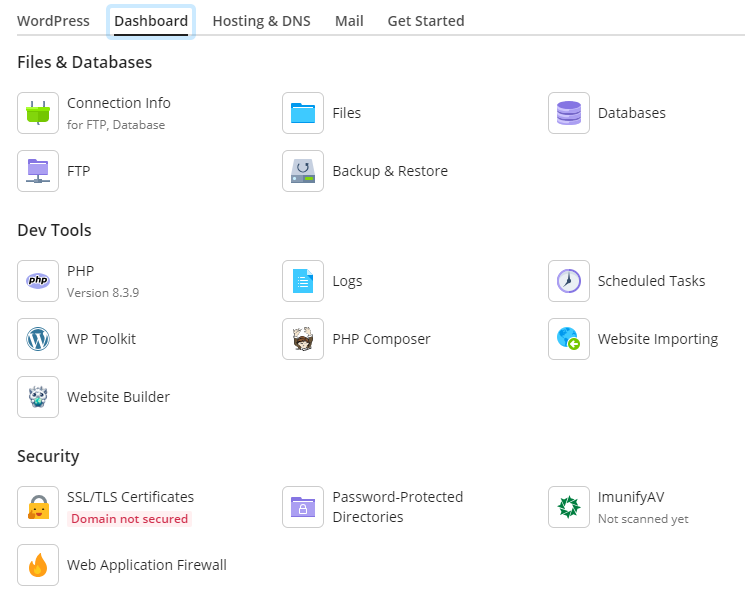
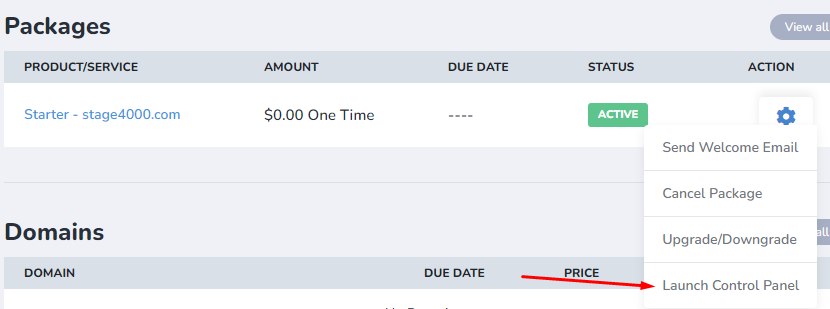
Step 3: Access the Control Panel
- Navigate to the Dashboard:
- Go to your Dashboard.
- Launch Control Panel:
- Find the "Packages" section.
- Click on the action gear icon and select "Launch Control Panel".
Step 4: Choose Your Website Building Option
- From the Control Panel:
- Choose from the available options:
- SiteCritter Web Builder
- WordPress
- Custom PHP
- Other available options
- Choose from the available options: