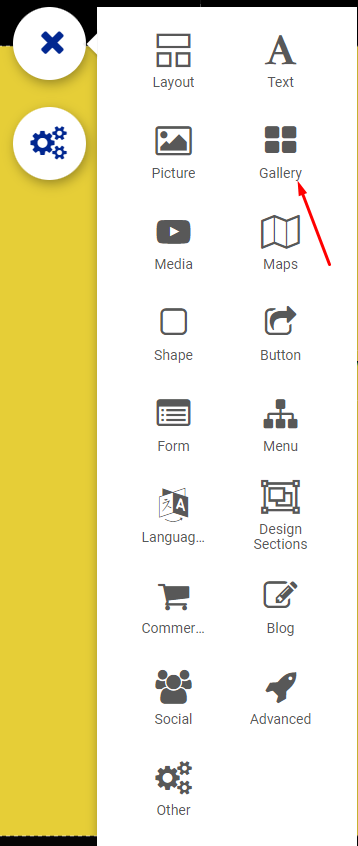
Adding a Gallery:
Select "gallery" from the "add" menu. Drag and drop it to your webpage.
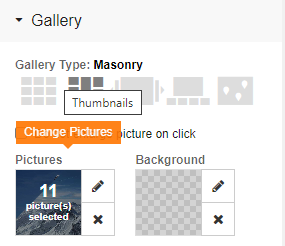
Customizing Gallery:
You can change the gallery type or change the background color in the right toolbar.
Thumbnails:
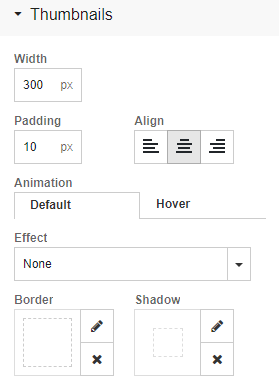
Using the thumbnail animation will have the individual gallery thumbnails animate instead of the whole module. You can choose to animate on scroll or hover and choose from similar animation options.
You can add a border to each thumbnail and adjust the width, color, and style. You can also choose to use different borders on each side. There are no border corner setting for gallery thumbnails.
You can add a shadow to thumbnails and adjust the distance, size, blur, color, and style.
Captions:
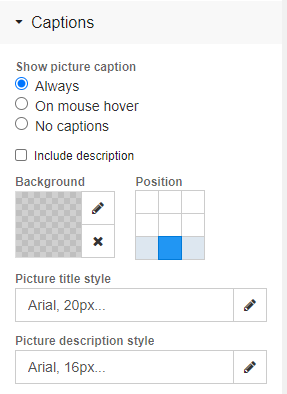
You can choose the background color for the description box and the position.
You can choose the text styles for the title and description by clicking the pencil next to the respective box.