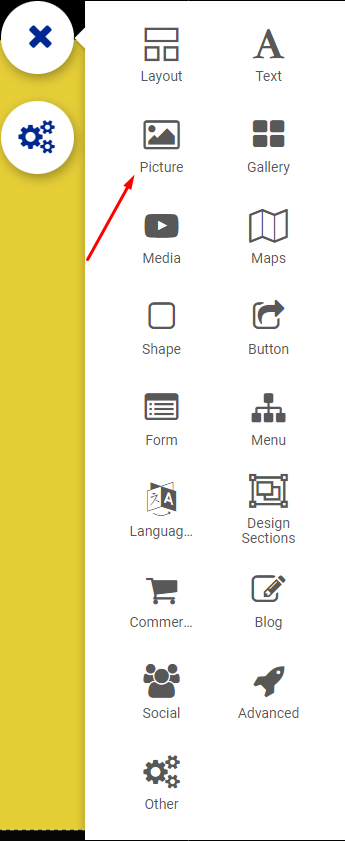
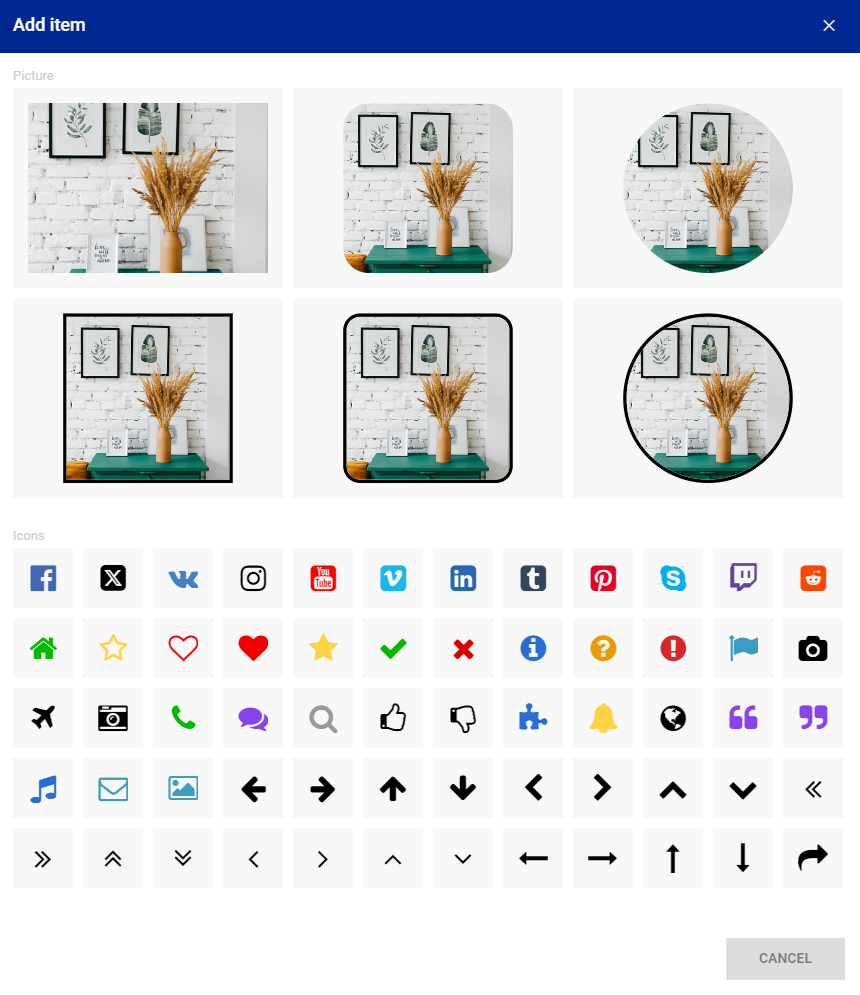
Adding a photo:
Click the "add" button and select "picture". Drag and drop where you would like it to go in your page.
Customizing a Photo:
Crop:
To crop a photo once it's been added to your site, click the crop icon on the top left of the photo.
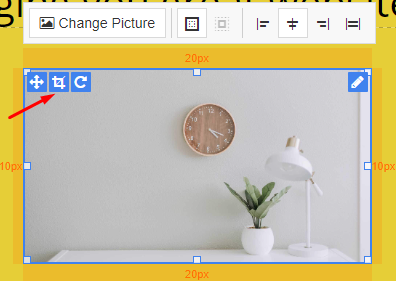
Rotation:
Click the rotation icon (right next to the crop icon). This will rotate the image clockwise.
Opacity:
You can adjust the opacity of the image in the right toolbar.
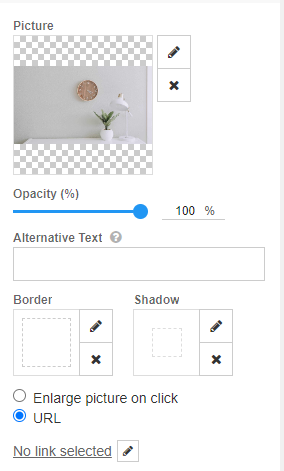
Alternative Text:
This is the text that will be read by screen readers or used if an image cannot be seen by a site visitor. Typically, this is text that describes the photo.
Border:
Click the pencil next to the border option. You can edit the width, style, and color of the border and corners. You can check the boxes to choose to have different borders/corners on each side.
If you would like to remove the borders, click the x just under the pencil.
Shadow:
Click the pencil next to the shadow option. Select the distance, size, blur, color, and style.
If you would like to remove the shadow, click the x under the pencil icon.
On-Click:
You can choose how the photo will react when clicked. You can choose URL and add a link to make the photo a clickable link. If you do not add a link, nothing will happen on-click. Or you can choose to have the photo enlarge on click.